
How to Connect a Domain to Hosting
The first time I tried to connect a domain to hosting, I was staring at two different dashboards — one for my domain registrar, one for my hosting account — with absolutely no idea which settings went where, or why my site still wasn’t loading an hour after I thought I’d done everything correctly.
I refreshed the browser probably forty times. Tried a different browser. Cleared cache. Convinced myself I’d broken something.
Turns out I’d done everything right, I just didn’t know about DNS propagation — the waiting period after you update domain settings where the internet slowly catches up. Nobody had mentioned that part. I sat there troubleshooting a perfectly fine setup for over an hour for no reason.
If you’ve bought your domain and hosting from different places — which is pretty common, since a lot of people grab domains from Namecheap or GoDaddy and hosting from somewhere like Hostinger or SiteGround — this guide walks you through exactly how to connect them, what to expect, and how to avoid the small mistakes that cause a lot of unnecessary confusion.
First, Let’s Understand What You’re Actually Doing
I promise this isn’t going to turn into a technical lecture, but understanding the basic idea makes the actual steps make a lot more sense.
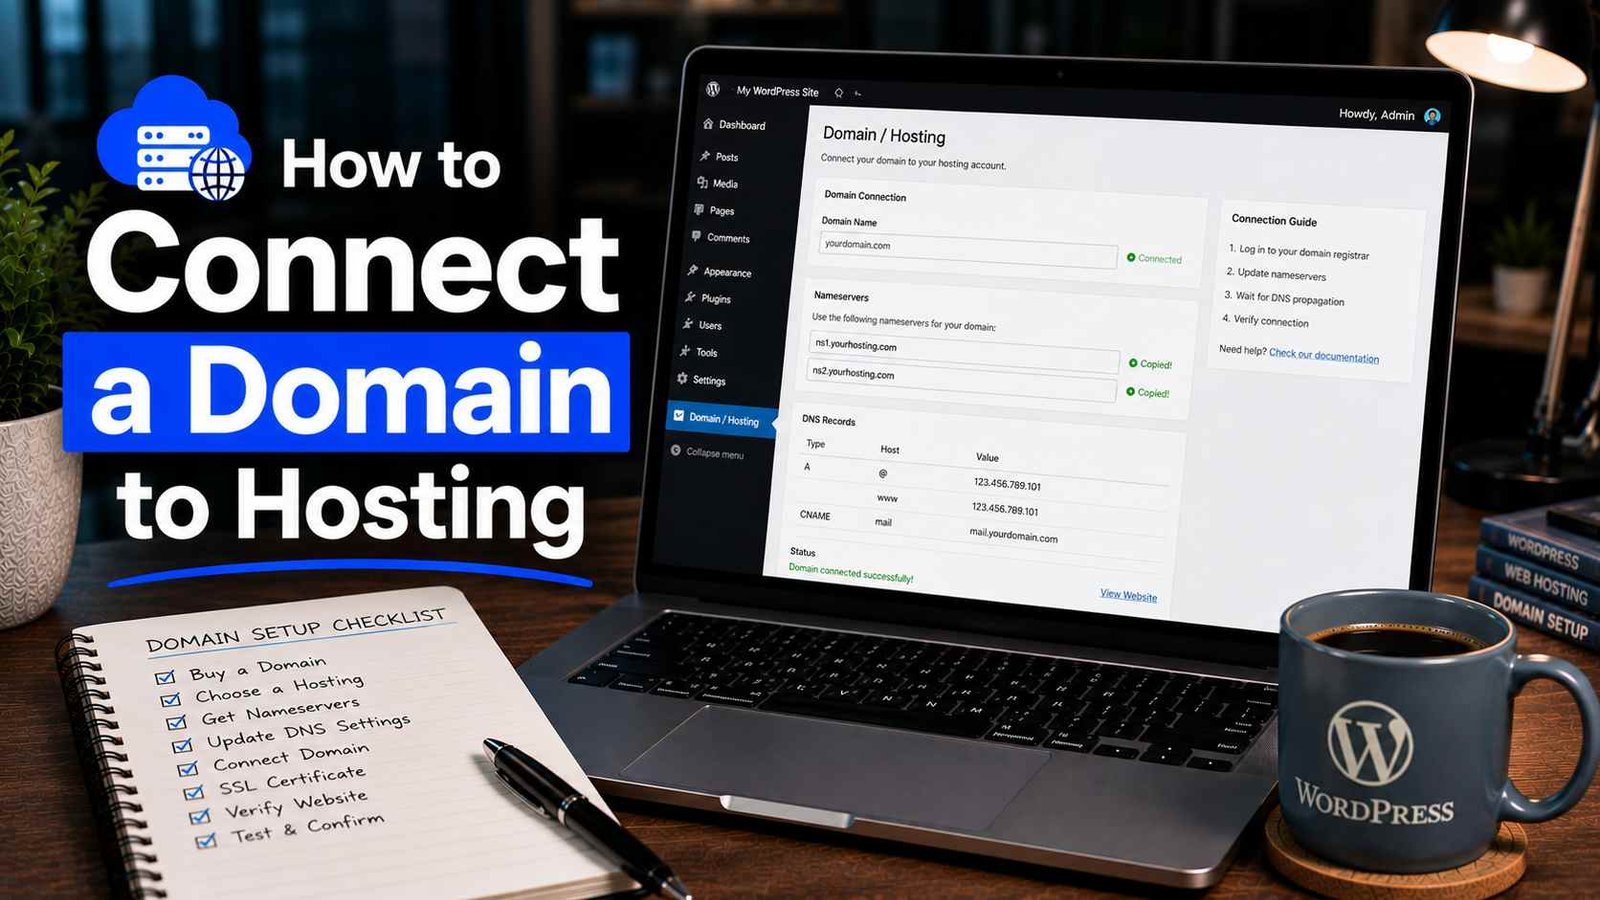
Your domain name (like yoursite.com) is basically a street address. Your hosting account is the actual building — the server where your website files live. Right now, your domain address and your hosting building don’t know about each other. Connecting them means telling your domain, “hey, when someone types this address, send them to this specific hosting server.”
You do this by updating something called nameservers on your domain. Nameservers are basically the GPS coordinates that point your domain to the right hosting server. Your hosting company gives you these nameservers, and you paste them into your domain registrar’s settings.
That’s genuinely the whole process. The rest is just knowing where to click.
Step 1: Find Your Hosting Nameservers
Log into your hosting account first, because you need the nameserver information before you can do anything on the domain side.
On Hostinger: Log in to hPanel, go to Hosting → Manage, and look for a section called “Nameservers” or “DNS.” Hostinger’s nameservers are typically something like ns1.dns-parking.com and ns2.dns-parking.com — but always grab the exact ones from your own account rather than relying on what anyone writes online, since these can vary.
On SiteGround: Log in, go to your hosting account details, and look under “Account Information” or “Nameservers.” SiteGround typically shows you their nameservers right on the main account overview.
On Bluehost: Log in, go to Hosting → Add-on Domains or the main account area, and look for nameserver information. It’s usually listed in your welcome email too.
Write these down or keep the tab open — you’ll need them in the next step.
Step 2: Update Nameservers at Your Domain Registrar
Now go to wherever you bought your domain — Namecheap, GoDaddy, Google Domains, Porkbun, wherever — and log in.
On Namecheap:
- Go to your Domain List
- Click Manage next to the domain you want to connect
- Under the “Nameservers” section, change the dropdown from “Namecheap BasicDNS” to “CustomDNS”
- Enter your hosting nameservers (usually two of them, sometimes three or four)
- Click the green checkmark to save
On GoDaddy:
- Go to My Products → Domains
- Click on the domain name
- Scroll down to find “Nameservers” and click Change
- Select “Enter my own nameservers”
- Type in each nameserver from your hosting account
- Save changes
On Google Domains (now Squarespace Domains):
- Go to your domain settings
- Find the DNS section
- Switch from “Google Domains nameservers” to Custom nameservers
- Enter your hosting account’s nameservers
- Save
The interface looks different on each platform, but the logic is the same everywhere: find the nameserver section, switch to custom, paste in what your hosting account gave you, and save.
Step 3: Wait for DNS Propagation
Here’s the part nobody warned me about the first time.
After you update your nameservers, your site won’t work immediately. It takes time — anywhere from a few minutes to 48 hours, though in my experience it’s usually somewhere between 1 and 6 hours for most hosting providers.
This waiting period is called DNS propagation. What’s happening is that DNS servers around the world are gradually updating their records to reflect your nameserver change. Some update within minutes, others take longer. It’s not something you can speed up significantly — it just needs time.
The mistake I made (and that I’ve seen a lot of people make) is assuming something went wrong because the site isn’t loading immediately, then making more changes, which can actually delay things further.
What to do while waiting:
- Use a tool like whatsmydns.net to check propagation progress. Paste in your domain name, select “NS” from the record type dropdown, and you’ll see which parts of the world have already updated and which haven’t yet. It’s genuinely reassuring to see green checkmarks appearing as propagation spreads.
- Don’t change your nameservers again unless you have a clear reason to — making repeated changes resets the propagation timer.
Step 4: Verify the Connection Worked
Once propagation is complete (or even partially complete in your region), you can verify everything’s connected correctly.
Type your domain directly into a browser. If your hosting account is properly set up and has WordPress or another site installed, you should see your site. If your hosting account is empty (you connected the domain but haven’t installed WordPress yet), you’ll likely see your hosting provider’s default placeholder page — which is actually a good sign, because it means the connection worked.
You can also go back to whatsmydns.net and check that all the nameserver records are showing your hosting provider’s nameservers globally.
Alternative Method: Using A Records Instead of Nameservers
Most people use the nameserver method I’ve described above, but there’s another way to connect a domain to hosting — using A records instead of changing nameservers.
I’ve used this method when I wanted to keep my domain’s DNS management at Namecheap (for example, to use Namecheap’s email service) while pointing just the website to a different hosting server.
An A record basically says: “when someone visits this domain, send them to this specific IP address.”
To use A records instead of nameservers:
- Find your hosting account’s server IP address — usually listed in your hosting account’s main overview or welcome email.
- Go to your domain registrar’s DNS settings.
- Look for the existing A record (usually labeled “@” which means the root domain) and edit it, replacing the current IP with your hosting account’s IP address.
- You may also want to add or update a “www” A record pointing to the same IP, so both
yourdomain.comandwww.yourdomain.comwork correctly. - Save the changes.
Same DNS propagation wait applies here.
I generally recommend the nameserver method for beginners because it’s simpler and lets your hosting provider manage all the DNS settings automatically. The A record method is better if you have specific reasons to keep DNS management at your registrar — like using their email service or other specific DNS configurations.
A Real Example From My Own Setup
When I set up a client’s small business site recently, they’d purchased a domain through GoDaddy years ago and had bought hosting through Hostinger. Classic two-platform situation.
I logged into their Hostinger account first, grabbed the two nameservers from hPanel. Then logged into GoDaddy, went to their domain settings, switched to custom nameservers, pasted in Hostinger’s two nameservers, and saved.
We then went and grabbed a coffee. Came back about 45 minutes later, checked whatsmydns.net, and about 60% of the world’s DNS servers had already updated. An hour after that, the site was loading everywhere — Hostinger’s default welcome page, since we hadn’t installed WordPress yet.
Total active time spent on the connection itself: maybe eight minutes. The rest was just waiting.
Common Mistakes to Avoid
Changing nameservers and then immediately changing them back. If your site doesn’t load within the first hour, don’t panic and undo your changes. Use whatsmydns.net to check if propagation is just still in progress.
Entering nameservers with typos. These are long, specific strings — even one wrong character means nothing works. Always copy-paste rather than typing nameservers manually.
Only adding one nameserver when your host gives you two. You need to enter all the nameservers your hosting account provides, not just the first one.
Forgetting to install WordPress after connecting. Connecting your domain doesn’t automatically create a website. Once the domain points to your hosting, you still need to install WordPress or whatever platform you’re using through your hosting dashboard.
Confusing domain registration renewal with hosting renewal. These are two separate services with separate billing. I’ve seen people let their domain expire thinking their hosting renewal covered it. Keep track of both separately.
Updating DNS settings when your site is already live and getting traffic. If you’re migrating an existing live site from one host to another, changing nameservers will cause temporary downtime during propagation. Try to do this during low-traffic hours and have a plan in place.
What If Your Domain and Hosting Are With the Same Provider?
If you bought both through the same company — like both through Hostinger or both through Bluehost — this whole process is usually handled automatically, or with just a couple of clicks inside your dashboard.
Hostinger, for example, automatically links domains purchased through them to hosting accounts on the same account. You just choose the domain during the WordPress installation process, and it works without any manual nameserver editing.
This is honestly one underrated benefit of keeping domain and hosting with the same provider — it removes an entire setup step that confuses a lot of beginners.
What About SSL After Connecting?
Once your domain is connected and DNS has propagated, you’ll want to make sure your SSL certificate is active — that’s what gives you the “https://” and the little padlock icon in the browser.
Most modern hosting providers (including Hostinger and SiteGround) issue SSL certificates automatically through Let’s Encrypt once they detect your domain is pointing to their servers. This usually happens on its own within a few hours of DNS propagation completing.
If your site loads over http:// without the padlock, check your hosting panel’s SSL section — there’s usually a one-click option to activate or renew the SSL certificate if it hasn’t kicked in automatically.
Final Thoughts
Connecting a domain to hosting is genuinely one of those tasks that sounds more complicated than it actually is. The whole active process takes under ten minutes. The confusing part for most people isn’t the steps themselves — it’s not knowing about the waiting period afterward and not having a tool like whatsmydns.net to check progress.
Now that you know what to expect, you won’t be sitting there refreshing your browser for an hour wondering what went wrong. Change the nameservers, wait, check propagation, and get on with building your site.
And if you’re starting a brand-new project and haven’t bought a domain yet — seriously consider getting both your domain and hosting from the same provider. It skips this entire process and gets you to the actual fun part — building your website — much faster.
Any Question? Contact Us
