
How to Install a WordPress Theme Properly
I once installed a new WordPress theme at 11 PM on a Tuesday, right before going to bed, thinking it’d take five minutes.
I woke up to a white screen. Not just a broken layout — completely blank, no header, no error message, nothing. Just white. My site had been live for two years at that point with actual visitors and a few affiliate links bringing in coffee money every month.
That little “quick theme update” turned into a three-hour panic session of restoring backups and googling “wordpress white screen of death” at midnight.
I tell you this not to scare you off, but because almost every mistake I made that night is completely avoidable if you know what you’re doing. So let’s go through this properly, the way I do it now.
Why Theme Installation Goes Wrong More Often Than People Think
WordPress makes installing a theme look stupidly simple. Click a button, theme’s in, done. And honestly, sometimes it really is that easy.
But themes interact with plugins, your existing content, your hosting setup, and sometimes leftover code from your previous theme. When any of those don’t play nice together, things break. Usually not gracefully either — WordPress doesn’t really give you a friendly warning message most of the time.
The good news: a few simple habits prevent almost every disaster I’ve personally run into.
Step 1: Back Up Your Site First (Seriously, Don’t Skip This)
I cannot stress this enough. Before you touch anything theme-related, back up your site.
I use UpdraftPlus — it’s free, it’s simple, and it lets you restore your entire site (files and database) in a few clicks if something goes sideways. Some hosting providers like Bluehost or SiteGround also have built-in backup tools, so check there too.
That white screen disaster I mentioned? I hadn’t backed up in three weeks. Lesson learned the hard way. Now I back up before literally any theme or major plugin change, no exceptions.
Step 2: Don’t Install Random Themes From Google Search Results
This one’s important. I’ve seen people download themes from sketchy third-party sites because they found a “premium theme for free” link somewhere.
These often come bundled with malware, hidden spam links, or just badly written code that slows your site down. I learned this from a friend’s site that mysteriously started ranking for Viagra ads in Google — turns out a “free premium theme” she downloaded had hidden spam injected into it.
Stick to trustworthy sources:
- WordPress.org’s official theme directory (free themes, all reviewed)
- ThemeForest (paid, but legit and reviewed)
- StudioPress, Astra, Kadence, GeneratePress — these are theme companies I’ve personally used and trust
If a theme isn’t from one of these kinds of sources, I just don’t risk it anymore.
Step 3: Check Theme Reviews and Update History
Before installing anything, even from the official directory, I check two things:
- When was it last updated? If it hasn’t been touched in over a year, that’s a red flag — it might not be compatible with the current WordPress version.
- What do the reviews say? One-star reviews mentioning “broke my site” are worth reading carefully.
This takes two minutes and has saved me from installing at least four themes that clearly had ongoing issues.
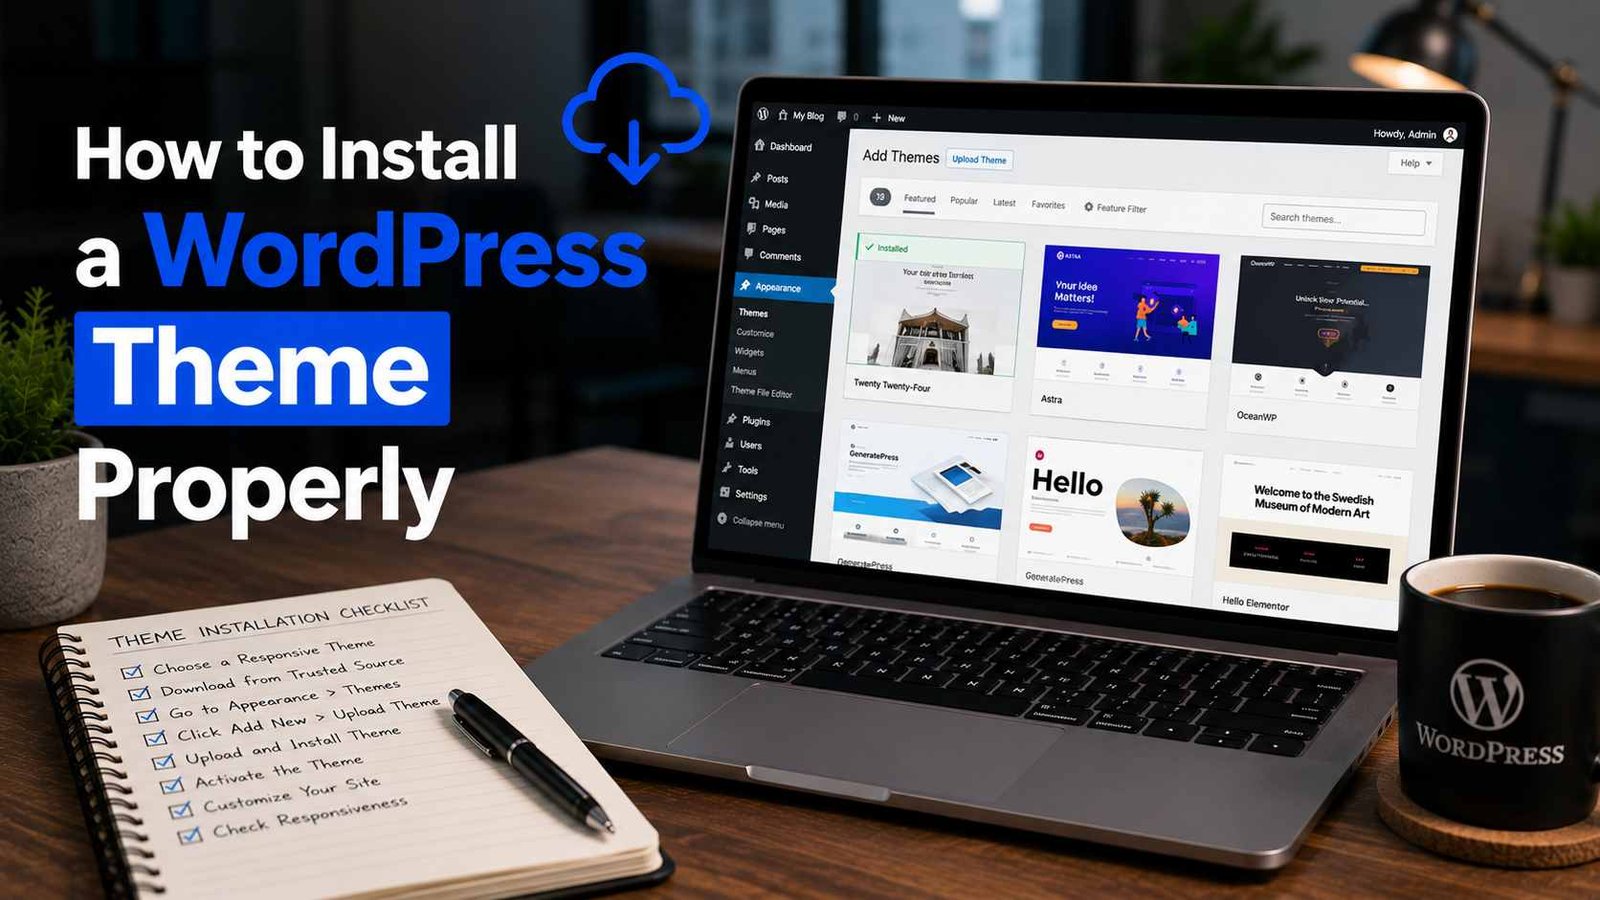
Step 4: Installing the Theme (The Actual Process)
Okay, here’s the part you came for. Assuming you’ve backed up and picked a solid theme, here’s how I do it:
If installing from the WordPress directory:
- Go to your WordPress dashboard
- Click Appearance > Themes
- Click Add New Theme
- Search for the theme name, or browse by feature/category
- Click Install, then Activate
That’s genuinely it for directory themes. Simple.
If you bought a theme (like from ThemeForest) and have a .zip file:
- Go to Appearance > Themes > Add New Theme
- Click Upload Theme near the top
- Choose the .zip file (make sure it’s the actual theme zip, not the whole package with documentation — premium themes often bundle extra files, and uploading the wrong one is a classic mistake I made on my first ThemeForest purchase)
- Click Install Now, then Activate
If you get an error saying the zip is invalid, you probably uploaded the parent folder instead of the actual theme file. Unzip it on your computer first and look for the specific theme folder inside.
Step 5: Don’t Activate and Walk Away — Check Everything
This is where most people stop, but it’s actually the most important part.
Right after activating, go through your site like a visitor would:
- Check your homepage
- Check a blog post
- Check any contact forms
- Check mobile view (Chrome’s inspector tool, right-click > Inspect > toggle device toolbar, works fine for a quick check)
- Check your menus — they often disappear or get reset after a theme switch
I once switched themes and didn’t notice my entire navigation menu had vanished until a reader emailed me three days later asking how to find my “About” page. Three days. That’s how long it took someone to mention it, and who knows how many people just left without saying anything.
Step 6: Reconfigure Widgets and Customizer Settings
New themes almost never keep your old widget areas or customizer settings intact. Sidebars often go empty, footer sections reset, colors and fonts revert to defaults.
Go to Appearance > Widgets and Appearance > Customize and rebuild what you need. Yeah, it’s a bit tedious, but it only takes 15-20 minutes usually.
Real Example: My Smoothest Theme Switch Ever
Compare that white-screen disaster to a switch I did last year, moving from a generic free theme to GeneratePress on a client’s site.
I backed up first. Checked compatibility (GeneratePress is updated constantly, great reviews). Installed it on a staging site first instead of the live site — most decent hosts like SiteGround or WP Engine let you create a staging copy for free.
Tested everything on staging. Found two minor widget issues, fixed them. Then pushed it live.
Total downtime for actual visitors: zero. Total stress level: basically none. The difference between that experience and my midnight disaster was entirely due to preparation, not luck.
Common Mistakes to Avoid
Skipping the backup. I’ve said it twice now because it’s genuinely the one thing that turns a mistake into a minor inconvenience instead of a catastrophe.
Installing on a live site without testing. If your host offers staging (most decent ones do), use it. It’s free insurance.
Downloading themes from random “free premium theme” sites. Just don’t. It’s not worth the malware risk.
Forgetting to check mobile view. A theme can look great on desktop and completely fall apart on phones. Always check both.
Not deactivating the old theme’s specific plugins. Some themes come bundled with their own required plugins (like page builders). Leaving old, theme-specific plugins active after switching can cause weird conflicts. Deactivate ones tied to your old theme once you confirm the new one works.
Ignoring the “child theme” option for customization. If you plan on editing theme code directly, always do it through a child theme instead of editing the original theme files. Otherwise, any future theme update wipes out your changes completely. I learned this one after losing custom CSS tweaks during an update — twice, before I finally set up a child theme properly.
Final Thoughts
Installing a WordPress theme isn’t hard technically — WordPress really did make that part easy. What trips people up is everything around the installation: not backing up, not testing, not double-checking what broke after switching.
Give yourself thirty extra minutes for testing and you’ll catch 90% of the issues before your actual visitors do. And seriously, back up first. Future you, at whatever hour you’re doing this, will be very grateful.
Any Question? Contact Us
