
The first blog I ever created took me an entire weekend. Not because it’s actually that complicated — but because I had seventeen browser tabs open, three different YouTube tutorials playing in different windows, and absolutely no idea which advice to follow.
Someone told me I needed to know coding. Someone else said WordPress was dying and I should use Wix instead. One forum thread from 2019 told me to use a theme that doesn’t even exist anymore. I was so deep in conflicting information that I almost gave up before my site was even live.
If you’re in that place right now — overwhelmed, unsure where to start, maybe second-guessing whether blogging is even worth it in 2026 — I want this to be the only guide you need. No fluff, no unnecessary detours.
Here’s exactly how I’d create a blog with WordPress if I were starting completely fresh today.
First: WordPress.com vs WordPress.org — Let’s Clear This Up
This confused me for longer than I’d like to admit, and I still see people mix these up all the time.
WordPress.com is a hosted platform — they handle everything, but you have limited control over your site, especially on free or cheaper plans. Monetizing with ads, installing any plugin you want, using your own domain cleanly — all of this is either restricted or requires a paid upgrade.
WordPress.org is the self-hosted version — you download the WordPress software and run it on your own hosting. This is what most serious bloggers use, and what this guide is about.
The short version: if you want full control over your blog, the ability to run ads, and freedom to install any theme or plugin you like, go with WordPress.org paired with your own hosting plan.
Step 1: Pick Your Niche (Before Anything Technical)
I know you want to jump straight into the setup, but hear me out — skipping this step has derailed more blogs than any technical mistake.
When I started my first blog, I wrote about whatever I felt like that week. Travel one day, personal finance the next, tech reviews the week after. After six months, I had 30 posts and a completely unfocused site that ranked for almost nothing and had a bounce rate that would make any SEO cringe.
My second blog had a clear focus from day one. Same effort, same number of posts — but Google understood what the site was about, readers knew what to expect when they came back, and building an audience actually became possible.
You don’t need an incredibly narrow niche. But you do need a thread — something that ties your content together. “Productivity for freelancers” works. “Random stuff I find interesting” generally doesn’t, at least not for building an audience.
Step 2: Get Hosting and a Domain Name
This is the foundation of your blog — the hosting is basically the server where your site lives, and the domain is your website’s address.
For beginners in 2026, I’d recommend Hostinger or SiteGround — both have WordPress-friendly environments, reasonable pricing, and interfaces that don’t require a tech background. I personally use Hostinger for a few of my sites and have had a good experience overall.
Quick tips for picking a domain:
- Keep it short and easy to spell — if you have to spell it out every time you say it, it’s probably too complicated
- Avoid hyphens and numbers if you can
- A .com extension is still the most recognizable, but .co, .blog, and others work fine too
- Don’t overthink it. I’ve seen people spend two weeks debating domain names and then never actually launch
Most hosting providers let you buy a domain directly through them, which makes setup simpler. If you’re on Hostinger, you can usually get a free domain for the first year when you sign up for an annual hosting plan.
Step 3: Install WordPress
This used to involve downloading files, FTP clients, database setup — honestly, a whole project in itself.
Now? It’s a few clicks. Seriously.
Most hosting providers (Hostinger, SiteGround, Bluehost, and others) offer one-click WordPress installation directly from their dashboard. On Hostinger’s hPanel, you click “Websites,” choose “Add Website,” select WordPress, fill in a few basic details like your site title and admin password, and hit install. Your site is live within minutes.
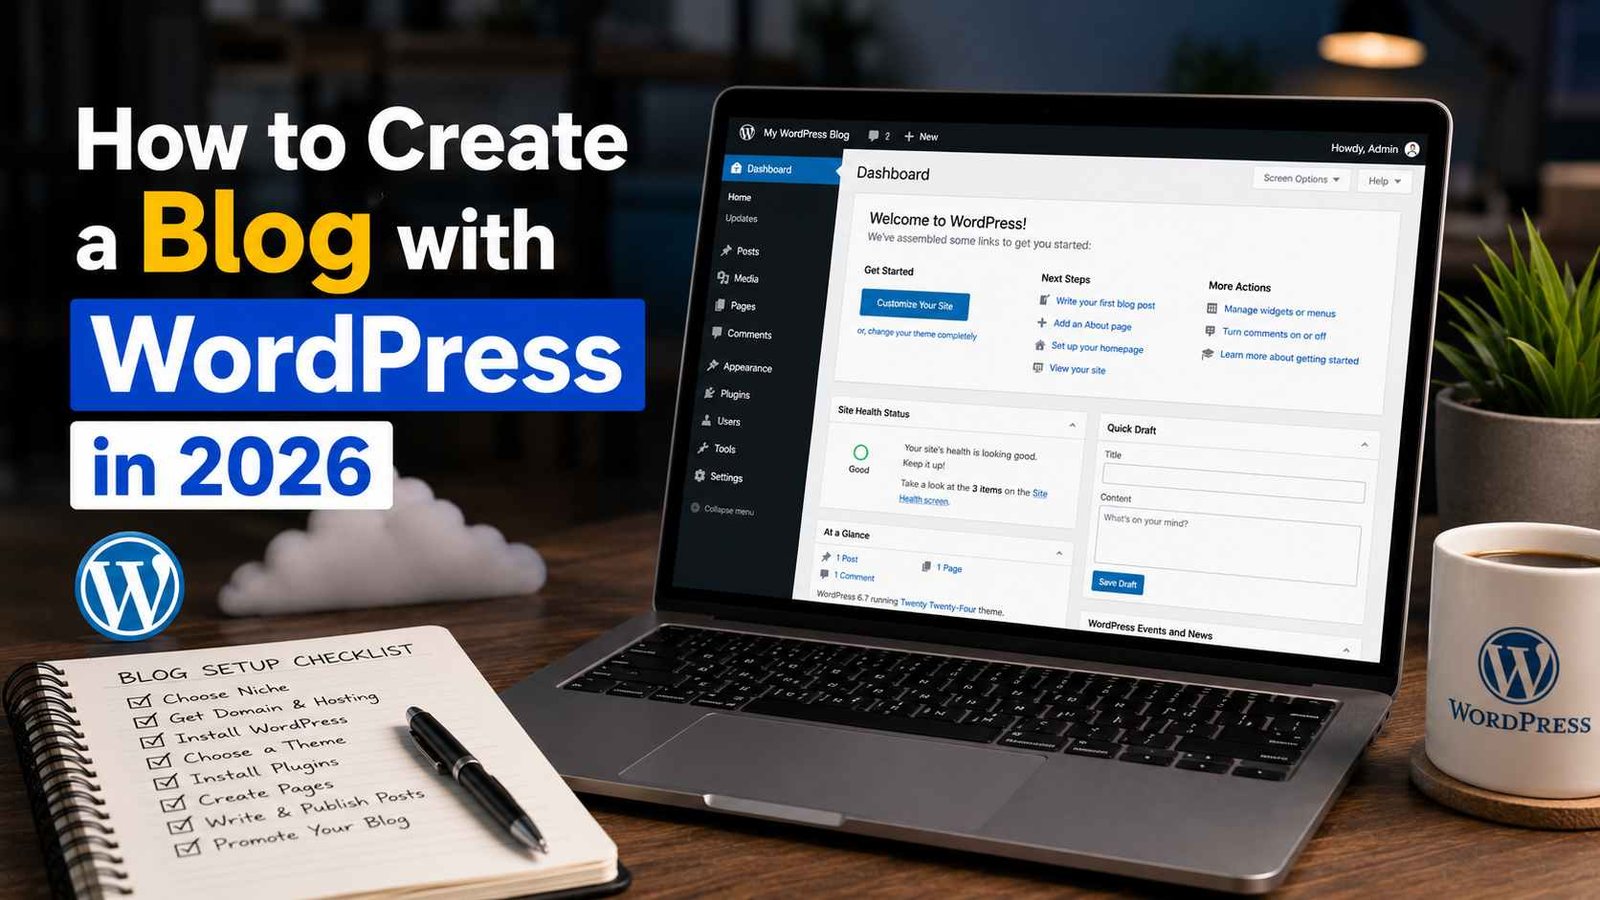
Once WordPress is installed, you’ll access your blog through what’s called the WordPress dashboard — usually at yourdomain.com/wp-admin. This is your control panel for everything: writing posts, installing themes, managing plugins, and so on.
Step 4: Choose and Install a Theme
Your theme controls how your blog looks. There are thousands of free themes in the WordPress theme library, and premium options that can cost anywhere from $30 to $100+.
When I started, I made the mistake of picking the most visually impressive theme I could find — lots of animations, fancy sliders, heavy design elements. It looked great on the theme preview but made my site load incredibly slowly, which hurt both user experience and search rankings.
What I’d recommend in 2026:
- Astra — lightweight, fast, highly customizable, and free (with a premium version for more features)
- GeneratePress — similar to Astra, very clean and performance-focused
- Kadence — another solid option that’s become popular recently
Any of these will give you a fast, professional-looking blog without needing to know any code.
To install a theme: go to your WordPress dashboard → Appearance → Themes → Add New → search for your chosen theme → click Install → Activate.
Step 5: Install Essential Plugins
Plugins are like apps for your WordPress blog — they add features and functionality. The flip side is that too many plugins can slow your site down and create conflicts.
Here’s what I install on every new blog:
- Rank Math (SEO) — helps optimize your posts for search engines, handles sitemaps, and gives you clear guidance on improving each post. Free version covers everything a beginner needs.
- WP Super Cache or LiteSpeed Cache — improves site speed by caching pages. Which one you use depends on your hosting setup.
- UpdraftPlus — automatic backups. Set it up once, forget about it, and be deeply grateful the one time something breaks.
- Akismet — blocks comment spam. Not exciting, but necessary once your blog starts getting any traffic.
- ShortPixel or Smush — compresses your images automatically so they don’t slow your pages down.
To install plugins: Dashboard → Plugins → Add New → search → Install → Activate.
Step 6: Set Up Key Settings (Most Beginners Skip These)
Before writing your first post, spend ten minutes getting these settings right:
Permalinks — Go to Settings → Permalinks and select “Post name.” This makes your URLs look like yourdomain.com/your-post-title instead of yourdomain.com/?p=123. Clean URLs are better for SEO and just look more professional.
Reading settings — Under Settings → Reading, make sure “Discourage search engines from indexing this site” is NOT checked. This checkbox sometimes gets accidentally left on, and it basically tells Google to ignore your entire site.
SSL/HTTPS — Make sure your site loads with https:// not http://. Your hosting provider usually handles this, but double-check it’s active and that WordPress is set to use HTTPS under Settings → General.
Delete default content — WordPress installs with a sample “Hello World” post and a default page. Delete those before you start publishing real content.
Step 7: Write Your First Posts (And What to Focus On)
Here’s where a lot of people freeze up. They spend weeks tweaking their theme and never actually publish anything.
My rule now: get five solid posts up before worrying too much about anything else. Not perfect posts — solid, genuinely helpful ones that answer something your target readers are actually looking for.
For each post:
- Focus on one topic or question
- Use headings to break up your content (H2, H3) — makes it easier to read and helps with SEO
- Add at least one image to break up the text
- Write a proper title and meta description using Rank Math or Yoast
- Link to other posts on your site once you have a few published
And one thing I wish someone had told me earlier: write like you’re explaining something to a friend, not performing for an imaginary “audience.” People can tell the difference, and conversational writing tends to hold attention much better.
Step 8: Connect Google Search Console and Analytics
Once you have a few posts live, set up these two free tools:
Google Search Console — shows you how your site is performing in Google search, which queries you’re showing up for, and any indexing issues. Submit your sitemap here (Rank Math generates it at yourdomain.com/sitemap_index.xml) so Google knows to crawl your site.
Google Analytics 4 — tracks your visitors, how they found you, what they’re reading, and how long they’re staying. Honestly, try not to check it every hour in the early days — early traffic numbers are discouraging, and obsessing over them doesn’t help you improve faster.
Common Mistakes I See (And Made Myself)
Choosing a slow, bloated theme because it looked impressive. Speed matters more than flashy design.
Installing too many plugins — I once had a client’s site with 43 active plugins. It was chaos. Keep it lean.
Skipping backups until something breaks. Set up UpdraftPlus on day one and schedule weekly backups at minimum.
Not setting up Search Console early — you miss weeks of indexing data that would’ve been useful later.
Changing your domain or permalink structure after publishing several posts. This can break links and hurt your rankings. Get these right from the start.
Expecting traffic within the first month. Most new blogs take 3-6 months before organic search traffic starts picking up meaningfully. That’s normal, not a sign that blogging doesn’t work.
What Makes 2026 Different
Blogging isn’t dead — but it has changed. Readers in 2026 are used to well-structured, genuinely useful content. Thin posts that just skim the surface don’t perform well anymore.
What still works great is writing in-depth, personal, experience-based content that actually helps someone solve a problem or make a decision. The kind of post where someone finishes reading and thinks, “okay, I know what to do now.” That’s exactly what search engines reward, and what builds a loyal readership over time.
Starting a blog in 2026 with WordPress is genuinely not as intimidating as it might feel right now. The tools have gotten simpler, the hosting setup is faster, and the path from “blank site” to “live blog” can realistically happen in an afternoon.
The harder part — the part that actually determines whether your blog does anything — is showing up consistently and writing content that’s worth reading. That part hasn’t changed.
Any Question? Contact Us
