
How to Buy a Domain Name Step by Step
The first domain name I ever bought was a mistake I still think about.
I was 22, starting my first blog, excited and impatient. I wanted something “brandable” and “unique” — so I registered a name that had a hyphen in it, three words long, and used a .net extension because the .com was taken. Something like “the-smart-tech-tips.net.”
It cost me $8.99 for the year. It felt like a bargain.
Two years later I abandoned that blog partly because I was embarrassed to tell people the domain name out loud. Imagine saying “visit me at the-smart-tech-tips dot net” in conversation. People’s faces just… went blank.
Since then I’ve bought probably 30+ domains across various projects, helped friends and clients register theirs, and learned — mostly through expensive lessons — what actually matters when you’re picking and purchasing a domain name.
Here’s the step-by-step process I now follow, plus everything I wish someone had told me the first time.
Before You Buy Anything — The Name Itself
This is the part most guides rush past to get to the “click here, enter card details” instructions. But the name is the decision you’ll live with longest, so it’s worth slowing down.
The .com question
Get the .com if you possibly can. I know this sounds old-fashioned in a world where .io, .co, .blog, and .xyz exist. And yes, some of those extensions are perfectly respectable now — especially in tech and startup circles.
But here’s the reality: when someone hears your domain name out loud and you don’t specify the extension, they’ll type .com. Every single time. If you own the-smart-tech-tips.net and someone else owns the-smart-tech-tips.com, you will lose traffic to them forever. Not a lot of traffic, maybe — but steadily, forever.
My rule now: .com first, always. If the .com isn’t available and the name is really good, I consider .co or .io for tech projects only. For blogs and personal sites, I’d rather find a different name than take a non-.com.
How to pick a name that doesn’t haunt you
Run through this checklist before committing:
- Can you say it out loud without spelling it out? “BrewJournal.com” — yes. “XyZTekk.com” — no.
- Does it make sense without context? If you have to explain what the name means, it’s probably too clever.
- Is it under 15 characters? Shorter is almost always better.
- Are there no hyphens, numbers, or unusual spellings? “Fixx” instead of “Fix” or “4” instead of “for” creates confusion every single time.
- Does it pass the “radio test”? If someone heard it on the radio and typed it from memory, would they get to your site?
Spend real time here. A domain name is one of the only things about your website that’s genuinely painful to change later.
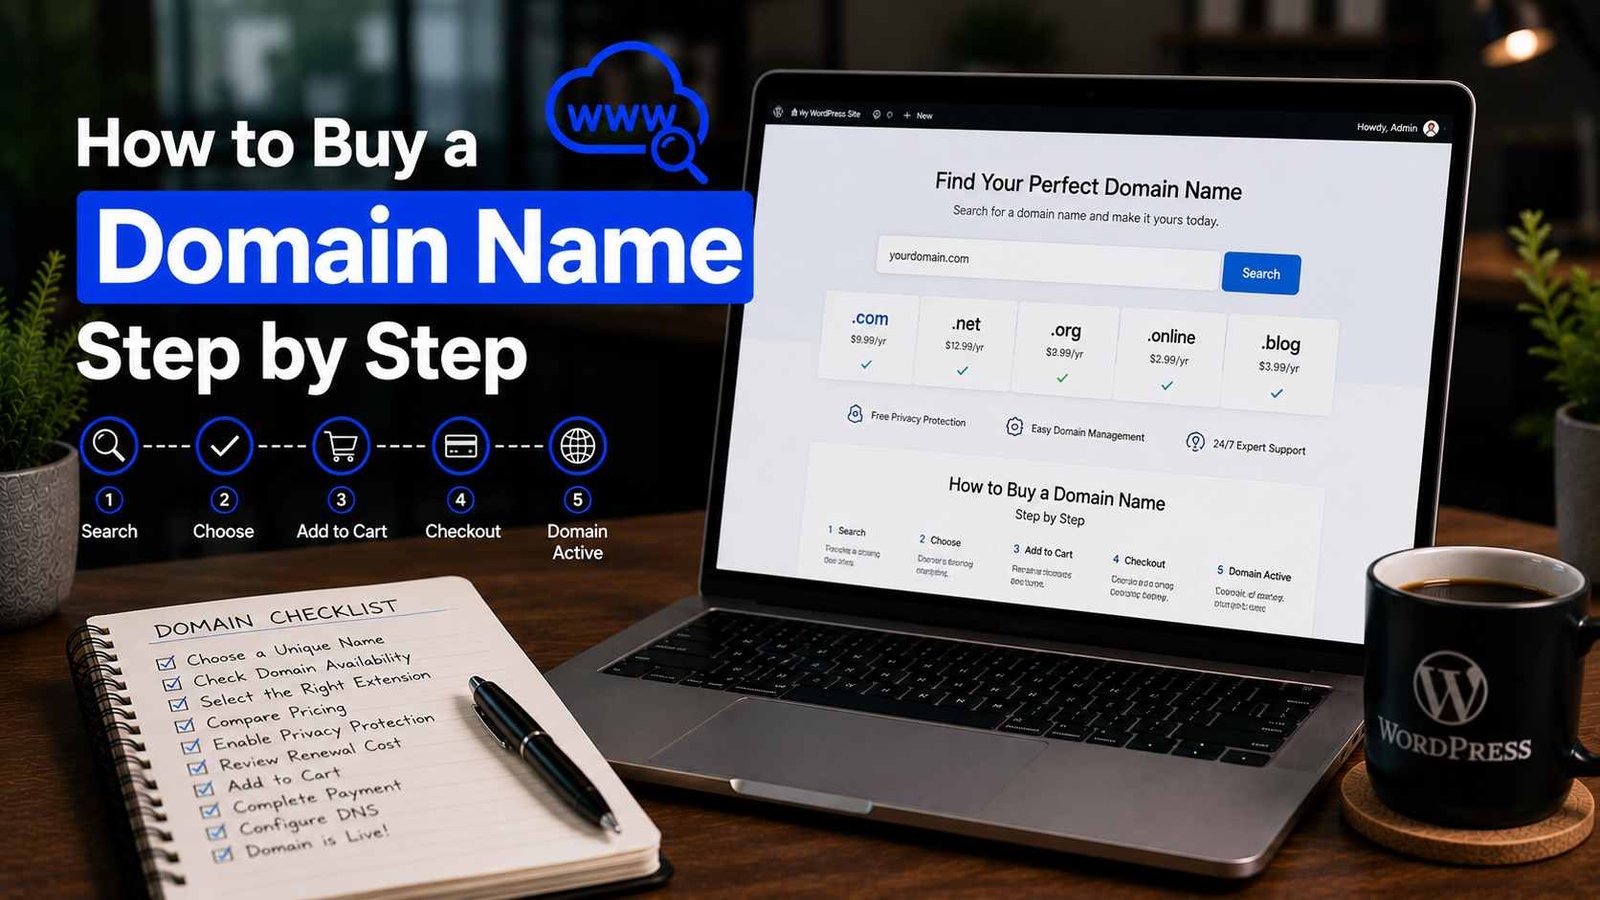
Step 1: Check If Your Domain Name Is Available
Go to any domain registrar and use their search tool. I use Namecheap for this even if I’m planning to buy elsewhere, just because their search interface is clean and fast.
Type in your desired name and see what comes up.
If your exact .com is available — great, move to Step 2.
If it’s taken, you have a few options:
Find a variation. Add a word before or after. If “BrewJournal.com” is taken, what about “TheBrewJournal.com” or “BrewJournalHQ.com” or “DailyBrewJournal.com”? Sometimes one small addition opens up a great .com.
Check if it’s actually in use. A lot of registered domains just sit there. Type the domain into your browser — if it leads to a parked page full of ads or just a blank page, the owner registered it but isn’t using it. This doesn’t mean it’s available to buy at standard price, but it might mean the owner would sell.
Use a domain marketplace. Sites like Sedo or Afternic let domain owners list names for sale. Sometimes you’ll find a great domain available for $500–$2,000. That’s real money, but for a business or serious project it can be worth it. For a personal blog? Probably not.
Don’t buy an exact competitor’s domain variation. I’ve seen people buy domains with competitor brand names in them thinking it’ll drive traffic. It doesn’t work that way and can create legal problems. Not worth it.
Step 2: Choose Where to Buy (Registrar Comparison)
This is where people spend way too much time overthinking. The honest truth: for 90% of users, any reputable registrar will work fine.
That said, here’s my actual experience with the main options:
Namecheap — My default recommendation for most people. Pricing is straightforward, the interface is clean, WHOIS privacy is included free (more on this in a minute), and I’ve never had a support issue that wasn’t resolved quickly. A standard .com costs around $9–$11/year at renewal.
Porkbun — Genuinely one of the cheapest registrars out there, and they include free WHOIS privacy and SSL too. The interface is a little quirkier than Namecheap but perfectly usable. I’ve registered several domains here and had zero issues. If you want to save a few dollars per year, Porkbun is worth a look.
Google Domains / Squarespace Domains — Google Domains was acquired by Squarespace in 2023 and rebranded. It’s clean, simple, and integrates well if you’re using Google Workspace. Pricing is competitive. I’ve used it for a client project and the experience was smooth.
GoDaddy — The most widely known registrar. I’d actually steer most beginners away from it not because it doesn’t work — it does — but because the checkout experience is aggressively upsell-heavy. Every step tries to add something to your cart. The base price is also often low as an introductory rate that jumps significantly at renewal. It’s not a scam, just annoying.
Your hosting company — Many hosting providers (SiteGround, Hostinger, Bluehost) let you register a domain when you sign up and sometimes include the first year free. This is convenient but creates a problem: your domain and hosting are tied together, which makes migrating later more complicated. I prefer to keep my domain registration and hosting separate. More on this below.
Step 3: Check the Renewal Price, Not Just the Registration Price
This is the mistake that catches so many people.
A domain might cost $0.99 or $1.99 for the first year as a promotional price. Year two? Could be $15, $18, even $25 depending on the registrar and the extension.
Before you complete any purchase, scroll down and find the renewal price. It’s usually listed somewhere in the cart or on the product page. If you can’t find it easily, that’s a red flag — search “[registrar name] .com renewal price” and you’ll find it.
Namecheap’s .com renewal is around $13–$14/year. Porkbun’s is around $10–$11/year. Those are reasonable. Anything above $18/year for a standard .com renewal is too expensive — you can always transfer the domain to a cheaper registrar later, but it’s a hassle.
Step 4: Enable WHOIS Privacy (This Is Not Optional)
When you register a domain, your name, email address, phone number, and mailing address become part of the public WHOIS database — a publicly accessible record of who owns every domain.
Without privacy protection, you will get spam. A lot of it. Emails offering to build your website, calls from people wanting to sell you SEO services, occasional scam attempts. I made the mistake of not enabling WHOIS privacy on two early domains and my email inbox became unusable within a month.
Most good registrars now include WHOIS privacy free — Namecheap, Porkbun, and Google/Squarespace Domains all do. GoDaddy charges extra for it, which is another reason I find it annoying.
When you’re at checkout, look for “WhoisGuard,” “Domain Privacy,” or “WHOIS Protection” and make sure it’s enabled. If it costs extra, factor that into your total comparison.
Step 5: Complete the Purchase
The actual checkout process is straightforward:
- Add the domain to your cart
- Confirm WHOIS privacy is included or added
- Uncheck any upsells you don’t need — most registrars will try to add hosting packages, SSL certificates (you’ll get a free one from your hosting provider anyway), email hosting, and website builders. You don’t need any of these at the domain registration stage.
- Set the registration period. One year is fine, but if you’re serious about the project, register for 2-3 years. It saves money per year and also signals to Google that your domain is established (Google has confirmed domain registration length is not a direct ranking factor, but it’s a mild trustworthiness signal)
- Pay and confirm
After purchase, you’ll get a confirmation email. Save this. It has your account login details, the domain name you registered, and expiration date. Don’t lose it.
Step 6: Set Your Domain to Auto-Renew
Go into your registrar account settings and turn on auto-renewal for your domain. Do this immediately.
I forgot to do this once. My domain expired at 2 AM on a Tuesday. By the time I woke up and noticed the email, the domain had already gone into a “redemption period” — meaning I had to pay a $70 redemption fee to get it back instead of the normal $12 renewal price.
That was an expensive lesson. Auto-renewal takes 30 seconds to enable and prevents this entirely.
One caveat: make sure the payment method attached to your registrar account stays up to date. Auto-renewal fails silently if your card is expired.
Step 7: Point Your Domain to Your Hosting (Or Set It Up for Email)
Buying a domain name is just owning the name — it doesn’t automatically connect to a website. You need to tell the domain where to point.
This is done through DNS settings (Domain Name System). Don’t let the technical name intimidate you — the actual process is just entering a couple of values into a form in your registrar account.
Your hosting provider will give you either:
- Nameservers (looks like: ns1.hostingcompany.com and ns2.hostingcompany.com) — go to your domain’s DNS settings at the registrar and replace the existing nameservers with these two.
- A Records and CNAME Records — specific IP addresses and aliases. Your host will give you the exact values to enter.
Both methods work. Nameservers are simpler — it’s a complete handoff to your host’s DNS system. A Records give you more control if you’re managing DNS settings at the registrar.
After making DNS changes, expect to wait anywhere from 30 minutes to 48 hours for the changes to propagate globally. During this time your domain might work in some locations and not others. This is normal.
Keep Your Domain and Hosting Separate — Here’s Why
I touched on this earlier, but it deserves its own section.
The temptation when you’re starting out is to register your domain through your hosting company. It’s convenient, often cheaper the first year, and everything is in one place.
The problem appears when you want to switch hosting providers — which you will eventually, whether because you found a better price, better performance, or your site has outgrown your current plan.
If your domain is registered with your host, transferring it adds several extra steps, potential downtime, and occasional confusion about who owns what. I’ve helped clients untangle this situation and it’s never fun.
Register your domain separately at Namecheap or Porkbun. Buy your hosting separately from SiteGround, Cloudways, or Hostinger. Connect them via DNS. Takes 10 extra minutes upfront and saves hours of potential headache later.
Mistakes That Are Easy to Avoid
Buying multiple similar domains “just in case.” I did this obsessively early on — buying .net and .org versions of domains I’d already registered as .com. Total waste. Unless you’re a major brand protecting your trademark, you don’t need the other extensions.
Letting a domain expire because you ignored the reminder emails. Registrars send multiple warnings before expiration. Don’t filter these to spam. And enable auto-renewal.
Registering a name that’s too close to an existing brand. “Amazzon.com” or “Gooogle.com” type domains can get legally challenged and taken from you. Even names that sound similar to major brands can cause issues. Check that your chosen name isn’t trademark-protected before registering.
Using a free domain from your hosting company permanently. Many hosts give you a “free domain for year one.” That’s fine to start, but make sure you understand that you need to pay for renewal and that you actually own and control the domain registration, not just the hosting. Read the fine print.
Choosing a trendy extension over .com. I’ve seen bloggers register .blog or .online domains because they were cheaper and “more descriptive.” Years later they regret it when someone else’s .com version of their name gets more traffic by default.
After You Buy: A Quick Checklist
- WHOIS privacy enabled
- Auto-renewal turned on
- Payment method in registrar account is current
- DNS pointed to your hosting (or noted to do when you set up hosting)
- Confirmation email saved somewhere you can find it
That’s everything. The actual process of buying a domain takes maybe 15 minutes once you know what you’re doing. The hard part — and the part worth spending real time on — is choosing a name you’ll still feel good about in five years.
Get that part right and the rest is just form-filling.
Any Question? Contact Us
