
How to Install WordPress Plugins Safely in 2026
Three years ago, I broke a client’s entire website 20 minutes before they were going live with a product launch.
The cause? I installed a “free” plugin I found through a random Google search to add a countdown timer to their homepage. It looked legit. Decent reviews, simple description, free download. I activated it, the homepage went completely white, and I spent the next 45 minutes in a cold sweat trying to figure out what went wrong while the client was messaging me asking if everything was ready.
Turns out the plugin had a conflict with their page builder and threw a fatal PHP error. We got it fixed, the launch happened only 15 minutes late, but I learned a lesson that day I never forgot: not all plugins are safe, and “looks fine” doesn’t mean “is fine.”
Since then, I’ve installed probably a few hundred plugins across client sites and my own projects, and I’ve developed an actual system for doing it without the panic. Let me walk you through exactly what that looks like in 2026, because the plugin landscape has changed quite a bit even in the last couple of years.
Why This Still Matters in 2026
WordPress now powers a huge chunk of the web, and plugins are still the main way people extend functionality. But the plugin ecosystem has also become a bigger target.
In the past year alone, there have been multiple high-profile vulnerabilities discovered in popular plugins — some with millions of active installs — that allowed attackers to inject malicious code or take over admin accounts. WordPress.org has also tightened its review process for new plugin submissions, but that doesn’t mean every plugin on the repository is automatically safe, and it definitely doesn’t cover plugins downloaded from outside sources.
If you’re running a WordPress site — whether it’s a hobby blog or a business site — how you install and manage plugins directly affects your security, your site speed, and honestly, your sanity.
Step 1: Always Check Before You Install
Before I install anything now, I run through a quick mental checklist. This takes maybe two minutes and has saved me from disaster more times than I can count.
Check the last updated date. If a plugin hasn’t been updated in over a year, that’s a red flag. WordPress core updates regularly, and plugins that aren’t keeping pace are more likely to have compatibility issues or unpatched vulnerabilities.
Check active installations and ratings. A plugin with 500,000+ active installs and a 4.5-star rating has been tested by a lot of real-world use cases. A plugin with 200 installs and no reviews is a gamble.
Read a few of the 1-star reviews. This is something I started doing after that countdown timer disaster. The 5-star reviews tell you what the plugin promises. The 1-star reviews tell you what actually goes wrong.
Check WordPress version compatibility. Every plugin page on WordPress.org shows “Tested up to” a specific WordPress version. If that number is way behind the current WordPress release, be cautious.
Look up the developer. A quick search of the plugin developer’s name or company tells you if they have other reputable plugins, a real support history, or any complaints associated with them.
Step 2: Only Use Trusted Sources
This sounds obvious, but it’s where most disasters start.
WordPress.org plugin repository should be your default source for free plugins. Everything there goes through at least a basic review process.
Official premium marketplaces — like Easy Digital Downloads, Envato (CodeCanyon), or directly from the developer’s own website — are fine for paid plugins, as long as you’re buying from the actual official source.
Avoid “nulled” or cracked plugin sites entirely. I cannot stress this enough. Sites offering premium plugins for free are almost always bundling in malicious code. I’ve cleaned up at least three client sites over the years that got infected specifically because someone downloaded a “free” version of a premium plugin from a sketchy site. The malware was hidden inside the plugin files themselves.
If a premium plugin costs $59 and a website is offering it for free, that’s not a deal — that’s a trap.
Step 3: Test Before You Trust (Especially on Live Sites)
This is the step that would have saved me from my countdown timer disaster, and it’s the single biggest change I made to my process.
Use a staging environment. Most decent hosts now offer one-click staging — Cloudways, SiteGround, WPEngine, Kinsta all have this built in. If your host doesn’t, you can use a plugin like WP Staging to create a free clone of your site.
Install the new plugin on staging first. Click around. Check if anything breaks. Only after confirming it works do you install it on the live site.
If you don’t have staging, at least back up first. Tools like UpdraftPlus or Jetpack Backup let you create a full backup before making any changes. If something goes wrong, you can roll back in minutes instead of panicking.
Install plugins one at a time. I know it’s tempting to install five plugins in a row when you’re setting up a new site. Don’t. If something breaks, you won’t know which plugin caused it. Install one, check the site, then move to the next.
Step 4: The Actual Installation Process
Once you’ve vetted a plugin and you’re ready to install, here’s the simple process:
- Log into your WordPress dashboard
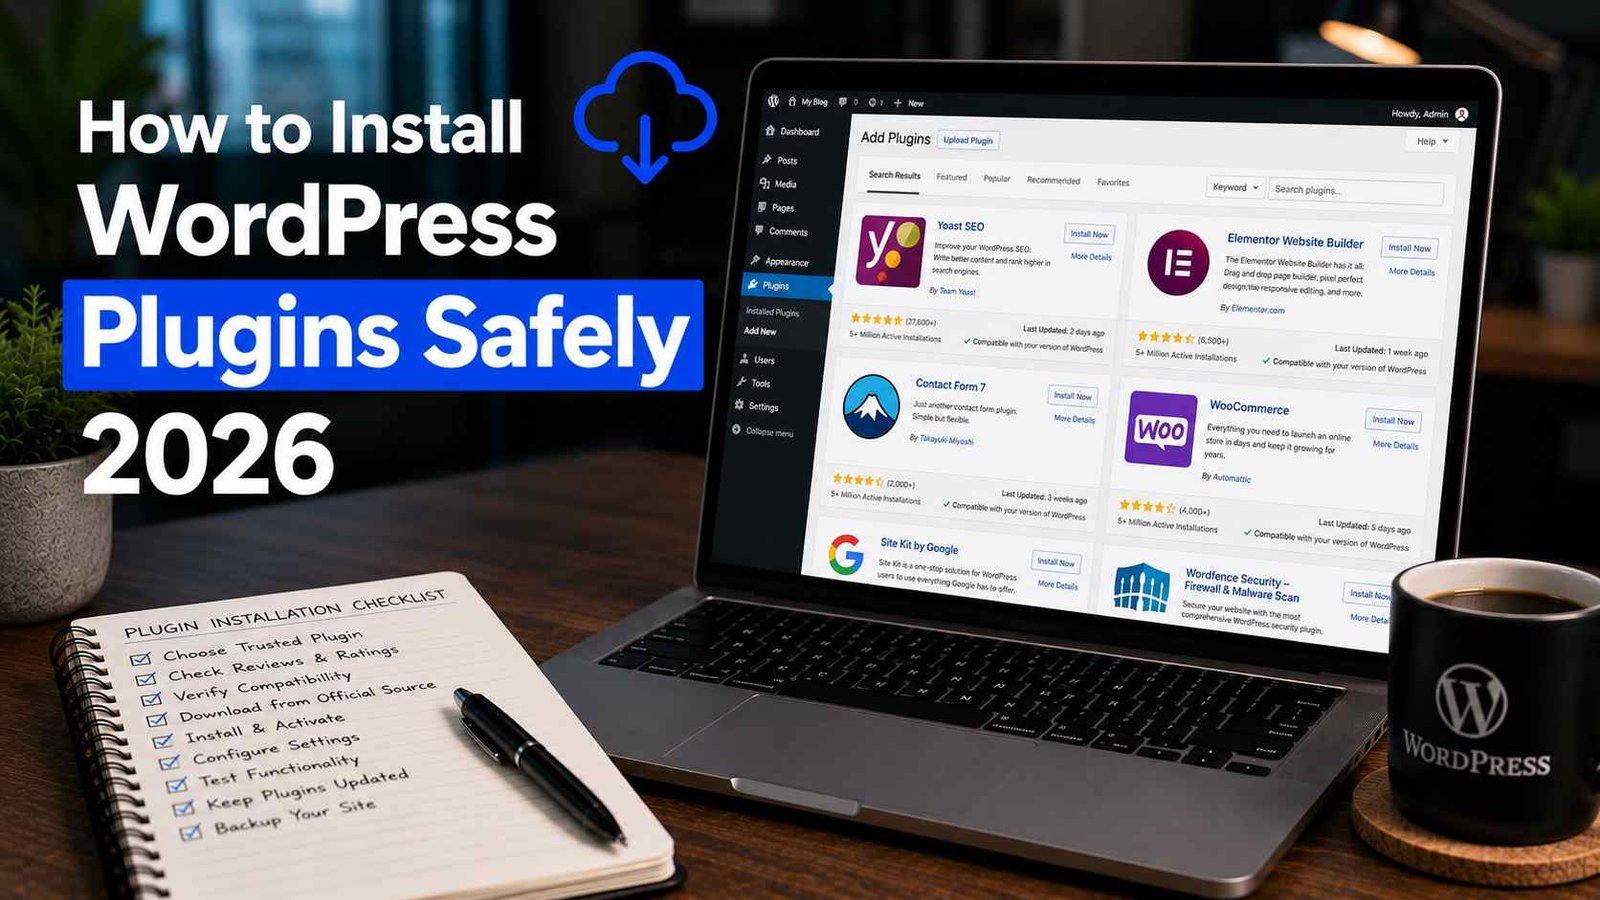
- Go to Plugins → Add New Plugin
- Search for the plugin by name, or click Upload Plugin if you’re installing a premium plugin you purchased as a ZIP file
- Click Install Now
- Once installed, click Activate
- Immediately check your site’s front end to make sure nothing broke
- Go into the plugin’s settings and configure it according to what you actually need
For premium plugins purchased outside WordPress.org, you’ll typically download a ZIP file from the developer’s account dashboard, then use the Upload Plugin option instead of searching.
Step 5: Don’t Just Install and Forget
A mistake I made constantly in my early days was installing a plugin, getting it working, and then never thinking about it again. That’s actually where a lot of long-term risk builds up.
Update plugins regularly. Outdated plugins are one of the most common entry points for hackers. Most WordPress dashboards show you a notification when updates are available — don’t ignore it for months.
Remove plugins you’re not using. Deactivated plugins still sit on your server and can sometimes still be exploited even when inactive. If you tested something and decided not to keep using it, delete it completely.
Audit your plugin list every few months. I go through every client site roughly every quarter and ask: is this plugin still needed? Is it still maintained? Could this functionality be handled by something already on the site?
Fewer plugins generally means a faster, more secure site. I’ve seen sites running 40+ plugins that could realistically function with 15.
Real Example: How I Handle This for Client Sites Now
Here’s my actual current workflow whenever a client asks me to add new functionality:
- I identify 2-3 plugin candidates that could solve the need
- I check update dates, active installs, ratings, and read through negative reviews for each
- I pick the strongest option and test it on a staging clone first
- I document what it does and any settings I changed, in case I need to troubleshoot later
- Only after confirming everything works do I install it on the live site
- I add it to a tracking sheet so I know exactly what’s running on each client’s site and why
This whole process maybe adds 15-20 minutes compared to just installing something blindly. Compared to the hours I spent fixing disasters in my early days, that’s nothing.
Common Mistakes to Avoid
Installing too many plugins from unknown developers. Stick to plugins with a real track record, especially for anything touching security, payments, or forms.
Skipping backups before major changes. Always have a recent backup before installing, updating, or removing anything significant.
Ignoring plugin conflicts. If your site behaves strangely after installing something new, that new plugin is the first suspect — don’t assume it’s unrelated.
Using too many plugins that do similar things. I’ve seen sites with three different SEO plugins fighting each other, or two caching plugins causing conflicts. Pick one tool per job.
Not checking security plugins themselves. Even security plugins like Wordfence or Sucuri need to be from trusted, actively maintained sources. Don’t assume “security” in the name means it’s automatically safe.
Final Thoughts
Installing WordPress plugins safely isn’t complicated once you build the habit, but it does require slowing down for those extra few minutes of checking before you click “Activate.” That countdown timer disaster years ago taught me that the few minutes you save by skipping research can turn into hours of stress later.
These days, my process feels almost automatic — check the source, check the reviews, test before trusting, and keep things updated. It’s not about being paranoid, it’s about being deliberate. Your WordPress site runs your business, your blog, or your client’s livelihood, and that’s worth those extra few minutes every single time.
Any Question? Contact Us
