
My cousin called me on a Saturday afternoon, panicking. She’d just quit her job to start a freelance photography business and needed a website — like, yesterday. She’d spent the previous two days watching YouTube tutorials, opened about fourteen browser tabs, and was somehow more confused than when she started.
“Just tell me what to actually do,” she said.
So I walked her through it, step by step, over the phone. By the time we hung up two hours later, she had a live WordPress website with her portfolio on it. She was stunned. I wasn’t — because once you strip away all the noise, building a WordPress site really isn’t that complicated.
That’s what this guide is. The version I’d give a friend. No fluff, no “it depends,” just the actual steps that work.
Before You Touch Anything — A Few Things to Understand
WordPress can mean two different things, and this confusion trips up almost every beginner.
WordPress.com is a hosted platform. They handle everything for you, but you’re limited in what you can customize — especially on the free plan. It’s fine for personal journals but not ideal if you want a real business site.
WordPress.org is the self-hosted version. You download the software and run it on your own hosting. This is what the vast majority of websites use, and it’s what this guide covers. It sounds more technical than it is — modern hosting providers have made it extremely simple.
Got it? Good. Let’s move.
Step 1: Pick a Domain Name
Your domain is your web address — like yourname.com or yourbusiness.com.
A few rules I tell everyone:
- Keep it short. The longer it is, the more chances for typos.
- Avoid hyphens and numbers. They look unprofessional and are hard to say out loud.
- Go for .com if you can. People still default to typing .com even if your site is .net or .co.
For my cousin, we went with her name + “photo” since her own name was taken. Something like saraphillipsphoto.com. Simple, professional, memorable.
You can search for available domains on Namecheap or GoDaddy. Domains usually cost around $10–15 per year. Don’t pay more than that for a fresh domain — some registrars try to upsell you into paying $30+, which is unnecessary.
Step 2: Get Hosting (This Is Where Your Site Actually Lives)
Hosting is the server that stores your website files and makes them accessible to the world. Think of the domain as your address and hosting as the actual building.
For beginners, I almost always recommend Hostinger or SiteGround. Here’s why:
- They’re affordable (starter plans run $3–10/month)
- They have one-click WordPress installation
- Their customer support is genuinely helpful when you get stuck
- Both come with a free SSL certificate (that little padlock in your browser that makes your site secure)
Bluehost is another popular option — they’re officially recommended by WordPress.org and often bundle a free domain for the first year.
When you’re picking a plan, the most basic shared hosting plan is completely fine to start. You don’t need VPS or dedicated hosting until you’re getting thousands of visitors a day — which is a good problem to have later.
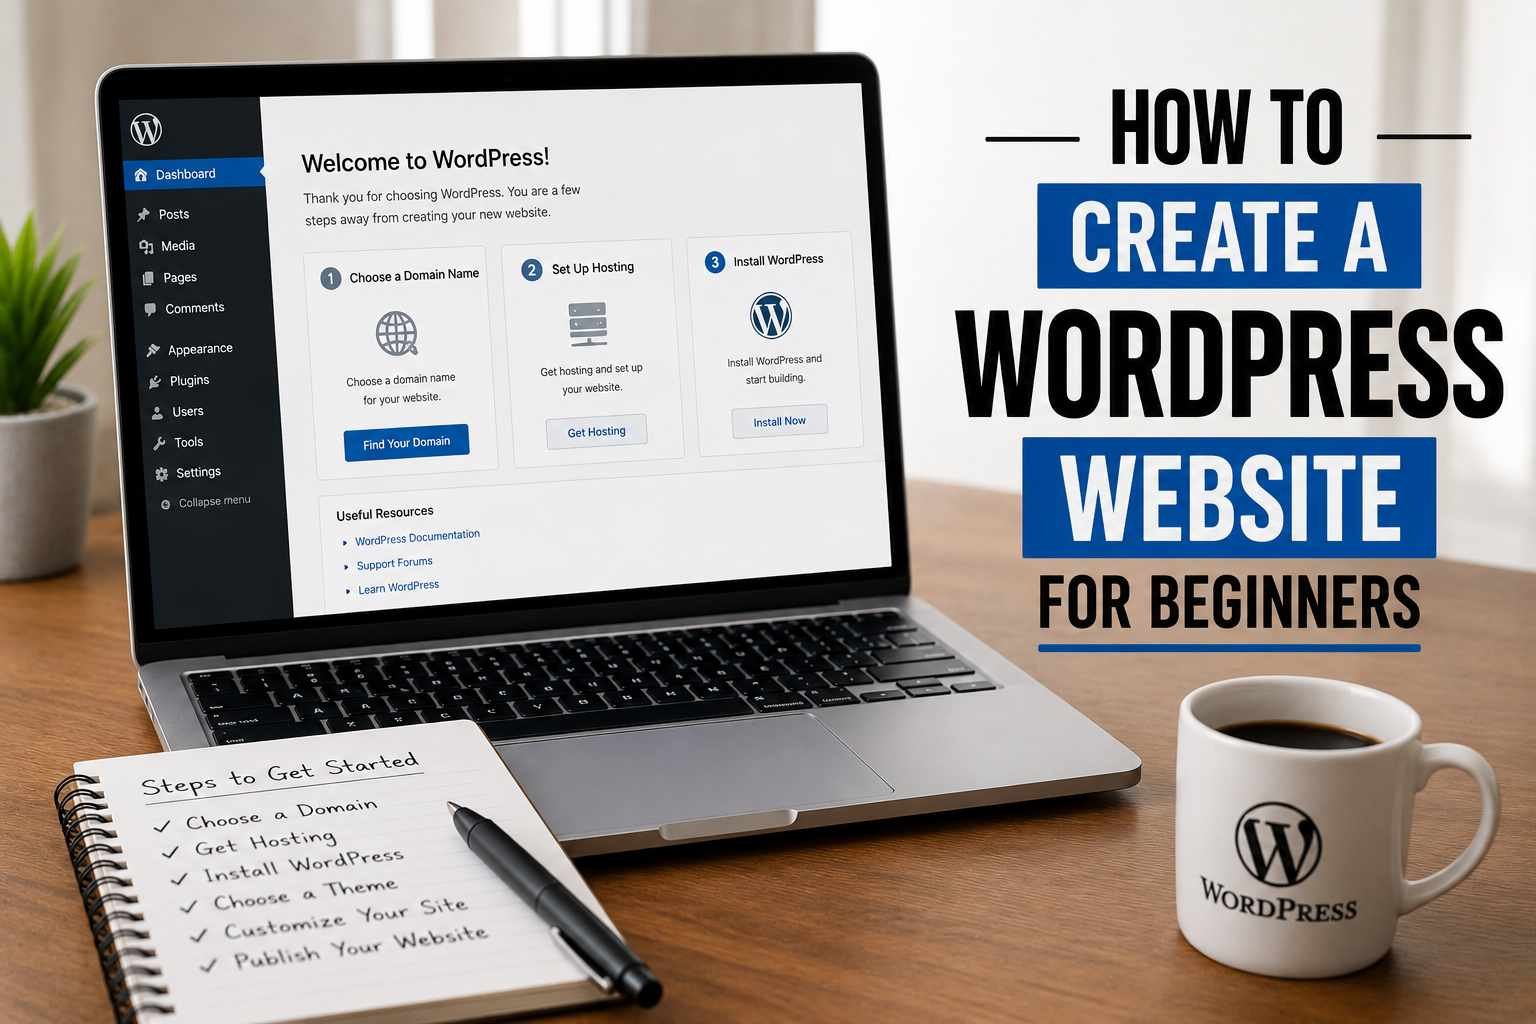
Step 3: Install WordPress
Once you’ve signed up for hosting, log into your hosting dashboard (most use cPanel or a custom interface). Look for something called “WordPress Installer” or “One-Click Install.”
Click it, fill in:
- Your domain name
- A site title (you can change this later)
- An admin username (don’t use “admin” — that’s the first thing hackers try)
- A strong password
Hit install. Seriously, that’s it. Within a few minutes, WordPress is live on your domain.
You’ll get a URL like yourdomain.com/wp-admin — that’s your login page. Bookmark it.
Step 4: Choose a Theme (Your Site’s Visual Design)
When you log into WordPress for the first time, it looks pretty bare. That’s normal. The design comes from your theme.
Go to Appearance → Themes → Add New and you’ll find thousands of free options.
Here’s my honest take: don’t spend hours picking the perfect theme. Most beginners fall into a theme rabbit hole and waste entire days on this. Pick something clean, lightweight, and well-reviewed, then move on.
My go-to recommendations for beginners:
- Astra — Fast, flexible, works beautifully with page builders
- Kadence — Similar to Astra, excellent free version
- GeneratePress — Super lightweight, great for blogs
- OceanWP — Good for portfolio or eCommerce sites
All of these have free versions that are genuinely usable. You don’t need to pay for a premium theme right away.
Once you activate a theme, most of them come with a setup wizard that walks you through basic customization — colors, fonts, logo upload. Follow it.
Step 5: Install Essential Plugins
Plugins are like apps for your WordPress site. They add features without you needing to write any code.
Go to Plugins → Add New and search for these:
1. Yoast SEO or Rank Math For helping your site show up on Google. Rank Math has become my personal favorite — it’s more powerful in the free version.
2. WPForms Lite For creating contact forms. Every site needs one. WPForms is the easiest I’ve used.
3. UpdraftPlus For backups. Install this before you do anything else. I cannot stress this enough. You will thank yourself the one time something breaks.
4. Smush or ShortPixel For compressing your images automatically so your site loads fast. Unoptimized images are the number one reason WordPress sites feel slow.
5. Wordfence Security Basic but effective security for your site. Free version covers what most beginners need.
Don’t go plugin-crazy. I’ve seen beginners install 30 plugins in the first week. Too many plugins slow your site down and can cause conflicts. Only install what you actually need.
Step 6: Create Your Key Pages
Every website needs a few core pages. Go to Pages → Add New to create them.
Home Page — Your first impression. Keep it clean. Tell visitors who you are and what you offer within the first few seconds of them landing there.
About Page — People buy from people. This is where you tell your story. My cousin’s About page was two paragraphs and a photo — simple, warm, personal. It worked.
Contact Page — Drop your WPForms contact form here. Add your email and social links too.
Services or Portfolio Page — Whatever the main thing is that you’re offering, it needs its own page.
If you’re blogging, you’ll also want a Blog page — but you can set that up once you’re ready to post.
Step 7: Set Up Your Menus and Navigation
Go to Appearance → Menus. Create a new menu, add your pages to it, and assign it to your “Primary Menu” location.
This is the navigation bar at the top of your site. Keep it to 4–6 items max. If you have too many links up there, visitors get overwhelmed and bounce.
Step 8: Make It Live and Test It
Before you tell anyone about your site, do a quick checklist:
- Open your site on your phone. Does everything look okay? (More than half of web traffic is mobile now.)
- Click every link. Make sure nothing is broken.
- Fill out your own contact form and check that the email lands in your inbox.
- Check your page speed with Google PageSpeed Insights — just paste in your URL. Aim for above 70 on mobile.
- Make sure your SSL is active (your URL should start with
https://, nothttp://).
Mistakes I See Beginners Make Over and Over
Trying to make it perfect before launching. Your first site will never be perfect. Launch it anyway. You can (and will) improve it over time. Waiting for perfect means waiting forever.
Using a weak admin password. I’ve helped clean up hacked sites. It’s miserable. Use a strong password and enable two-factor authentication.
Not setting up backups. UpdraftPlus takes five minutes to set up. Don’t skip it. Set it to auto-backup to Google Drive once a week at minimum.
Installing too many plugins. Quality over quantity. Every plugin is another potential security vulnerability and performance hit.
Ignoring mobile. Your site might look great on your laptop and terrible on a phone. Always check mobile. Always.
Skipping the SEO basics. You don’t need to become an SEO expert overnight, but at least install Rank Math and fill in the meta titles and descriptions for your key pages. It matters for how you show up in search results.
What Comes After Launch?
Once your site is live, the work shifts to content and growth. A few things worth thinking about:
Start a blog — Even posting once or twice a month helps with SEO and gives people a reason to come back.
Connect Google Analytics — It’s free and tells you who’s visiting your site, where they’re coming from, and what they’re reading. Install it through a plugin like Site Kit by Google.
Get a business email — A hello@yourdomain.com email looks far more professional than a Gmail address. Most hosting plans let you create one for free.
Keep WordPress updated — Update your themes, plugins, and WordPress core regularly. Old versions are security risks.
One Last Thing
My cousin’s site isn’t fancy. It’s a clean theme, a portfolio page, an About section, and a contact form. But it’s professional, it loads fast, it looks great on mobile, and it’s helped her land three clients in the past few months.
You don’t need a complicated site. You need a site that works, represents you well, and actually exists.
The hardest part isn’t the technical stuff — WordPress has made that genuinely easy. The hardest part is just starting. So close the extra tabs, pick a domain name, and go.
You’ll figure the rest out as you go. Everyone does.
Got stuck somewhere along the way? Drop your question in the comments — I check them regularly and actually respond.
Any Question Contact Us
